Since the American Movie Classic (AMC) series The Walking Dead will begin in just a month and two days, here are a few ideas for throwing a zombie party or even actually surviving a zombie apocalypse.
A Survival Guide to The Walking Dead
Reply


Since the American Movie Classic (AMC) series The Walking Dead will begin in just a month and two days, here are a few ideas for throwing a zombie party or even actually surviving a zombie apocalypse.
Anyone who has followed my blog knows how I love to share new costume ideas and love a good laugh.
Creativity and humor go hand in hand – so here’s the dog costume video I HAD to share. It is by SA Wardega. If anyone makes a similar one – please feel free to shoot me an email so I can share another good laugh and idea.Thanks!

It took over 50 PVC cuts to make the Mayor but it was so worth the effort. Image courtesy of Debbie Morrow. All rights reserved.
For those who have been waiting a year – I’m so sorry for being so tardy. If you’ve followed me in any way – you’ve seen I lost a huge part of my heart the day after Halloween – which has thrown me off kilter.
My loyal friends gently reminded me of my promise to post the tutorial – so here it is – the images are added first and then some explanation will follow with a specs sheet – that has all the measurements. Please read all before starting your project.


Don’t forget to write the word “Mayor” in Black permanent marker in white circle of ribbon. Putting Head and Hat Together: Cut a long piece of PVC pipe, slide the head on through the hole (make sure it can move so you can switch the head view when you feel like it).
Slide the black circle you cut earlier over top of head and place your PVC shish-ka-bob style piece into the “T” at the neck part of the “H” frame. Top the hat with a piece of pool noodle and cover with black fabric with a hot glue gun. Make a strip of grey trim fabric around hat and glue. * You’ll notice that the black rim of hat made out of foam board shows the white inside – use your black paint to touch that up all the way around.
The hands are made similar to my Sally, Jack, and Ring Girl. I added a stripe to a cheer horn to give it a “Tim Burton-ish” feel ( a word from the book of Deb).
Mayor Specs DIY Nightmare Christmas
If anyone has an issue opening the PDF specs. sheet, please feel free to shoot me an email so I can send you the word document. If anyone has a question, please don’t hesitate to email me too. Happy Prop Building!

I can imagine this perfect cat costume in a photography studio. Image courtesy of Kittybloger.wordpress.com.
Now that it is time to mull over what costume to choose this year – don’t forget your favorite pet. Kitty Bloger has some wonderful images of cats in costumes.
Newzshop also includes some images from Kitty Bloger and others – if you’re really interested in dressing your cat.
As for your other animals, I’ll save that for a later post.
* Please note: For the sake of animal love, only dress cats(or other animals) that truly enjoy it. Otherwise this might seem a little cruel. Thanks!
With just over two months before Halloween, party planners have already started contemplating invitations, decorations, and more. Here are a few over-the-top invite ideas that can kick-start enthusiasm in any invitee.


Many of the sites listed have tutorials and it would be interesting to know which one is your favorite.
If you have an idea to add to the gallery, shoot me a message so I can share your creativity. Happy Halloween Planning!

An interactive exhibit of a Paper Craft Guillotine by Mandy Smith. Image courtesy of Make.
I know…it’s still summer. But this is the time I like to think about what I’d like to make for Halloween. Whether I can actually accomplish the things I dream of making…well – that’s another story. I’ve just had back surgery (all those hours of prop making can do a lot of wear and tear after so many years). But don’t count me out just yet.
By making your plans and item lists early, you can save a bundle. Especially in garage sale season because you can pick up a plethora of items for pennies on the dollar. You can also find priceless stuff on the curb.
While in my Reader, I found an awesome prop idea from Make. It is a paper craft guillotine that was used in an exhibit. I’d love to make one for the kids to try out. You’ll find it at Vimeo:
Unsure of what this season holds for me, I’d appreciate all my creative counterparts to start posting their ideas and if you accomplish your dream prop, shoot me a pic and a quick note so I can highlight you on my blog. Thanks!

Skewers of food can make party planning easy and visually appealing. Image courtesy of Pinterest via Martha McCall.
In order for party planners to have enough energy to stay awake for the fireworks, the execution of creating great foods should be simple, visually appealing, and of course, crowd-pleasing.
Here are a few quick and easy energy-saving recipe ideas:
This can be skewers of meat and veggies for the grill, appetizers of fruit and cheese, or anything else that can be jabbed with a stick.They can be laid upon a tray, poked into a cabbage head that has been leveled by slicing a piece off the bottom, Styrofoam, or in tumblers or glasses. For more info on skewer recipes see 50 skewer recipes by The Food Network.

Guests couldn’t resist the party hats made from a variety of possible edibles. Photo courtesy of Mark Morrow, All Rights Reserved.
With the onslaught of graduation parties within the next few months, people are now scouring for party ideas more than ever.
Since I had the opportunity to just throw one of my own, I can offer some helpful tips that will save time, aggravation, and money.
These hats can be made with a variety of pre-made cookies, candies, and Fruit Roll Ups. You – the maker decides which is the easiest and most cost effective.
You’ll Need:
Chocolate-covered graham cracker squares
Choice of cap bottoms:
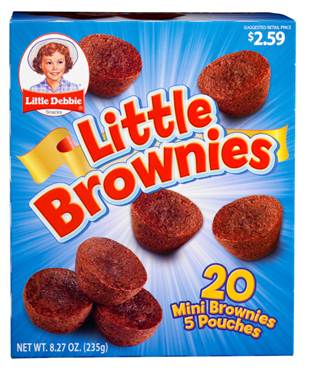
Mini brownies – premade as in mini brownies snacks or you can make your own brownie mix and use a mini muffin pan.
Mini muffin liners (if making own brownies)
OR Peanut butter cups OR Round Chocolate Cookies – The choice is yours.
Choice of Tassel Tops:
Black or red string licorice OR Fruit Roll Ups (any color)
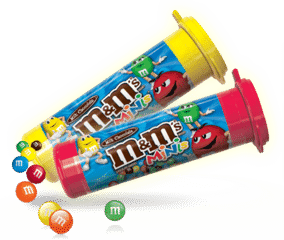
Candy buttons OR mini M & M’s OR other small round candies
Choice of frosting that hardens quickly:
Royal recipe, or my plain 10x frosting recipe: 1 cup 10x sugar, a tsp. of vanilla and enough water(add tbsp at a time) to make a very thick frosting. Mix well until smooth. Cover if not using right away or it will harden quickly.
To seal tassel top:
You can either add chocolate flavoring/cocoa to darken a bit of frosting to the side (1/8 cup) OR melt choc. chips, melts, Kisses, or plain bar – you’ll need no more than 8-10 kisses for 40.

Make your own table decoration weights. Image courtesy of http://www.awesomeevent.com/blog/category/cheap-balloon-weight-centerpieces/
With every party, aesthetics is important.Yet, paramount to most party planning – is cost. Each table should be decorated with a theme of colors and/or genre.Whether it is a Hawaiian Luau or a graduation party – an overall theme should exist.
Part of each table decoration often includes balloons or other lightweight decorations that need some kind of weight to keep them in place. Sure, you can purchase those balloon weights at your dollar store. But as the table count goes up, so does the cost.
Being the frugal gal, I thought of several ways to hold down the graduation caps for an upcoming graduation party. With 10+ tables to dress, I needed to consider what would travel easy and look good – even if the caps were lifted by curious guests.
For previous parties I’ve made my own weights using Plaster of Paris in a variety of containers: decorative Chinese food boxes, decorator cups, mini flower pots, etc. For this event, having to deal with the mess of preparing the mix along with the added drying time, just didn’t appeal to me.
This is when it struck – why not fill balloons with play sand or better yet – the more inexpensive counterpart – salt? It worked like a charm. It cost only $1.50 per 11 weights and it took less than an hour of working the salt into the balloons.
Since these were not going to be seen in generally, it was the easiest and most inexpensive solution.

Three items are needed to make balloon or table decoration weights. The cost for 11 weights: $1.50. Image courtesy of Debbie Morrow, all rights reserved.

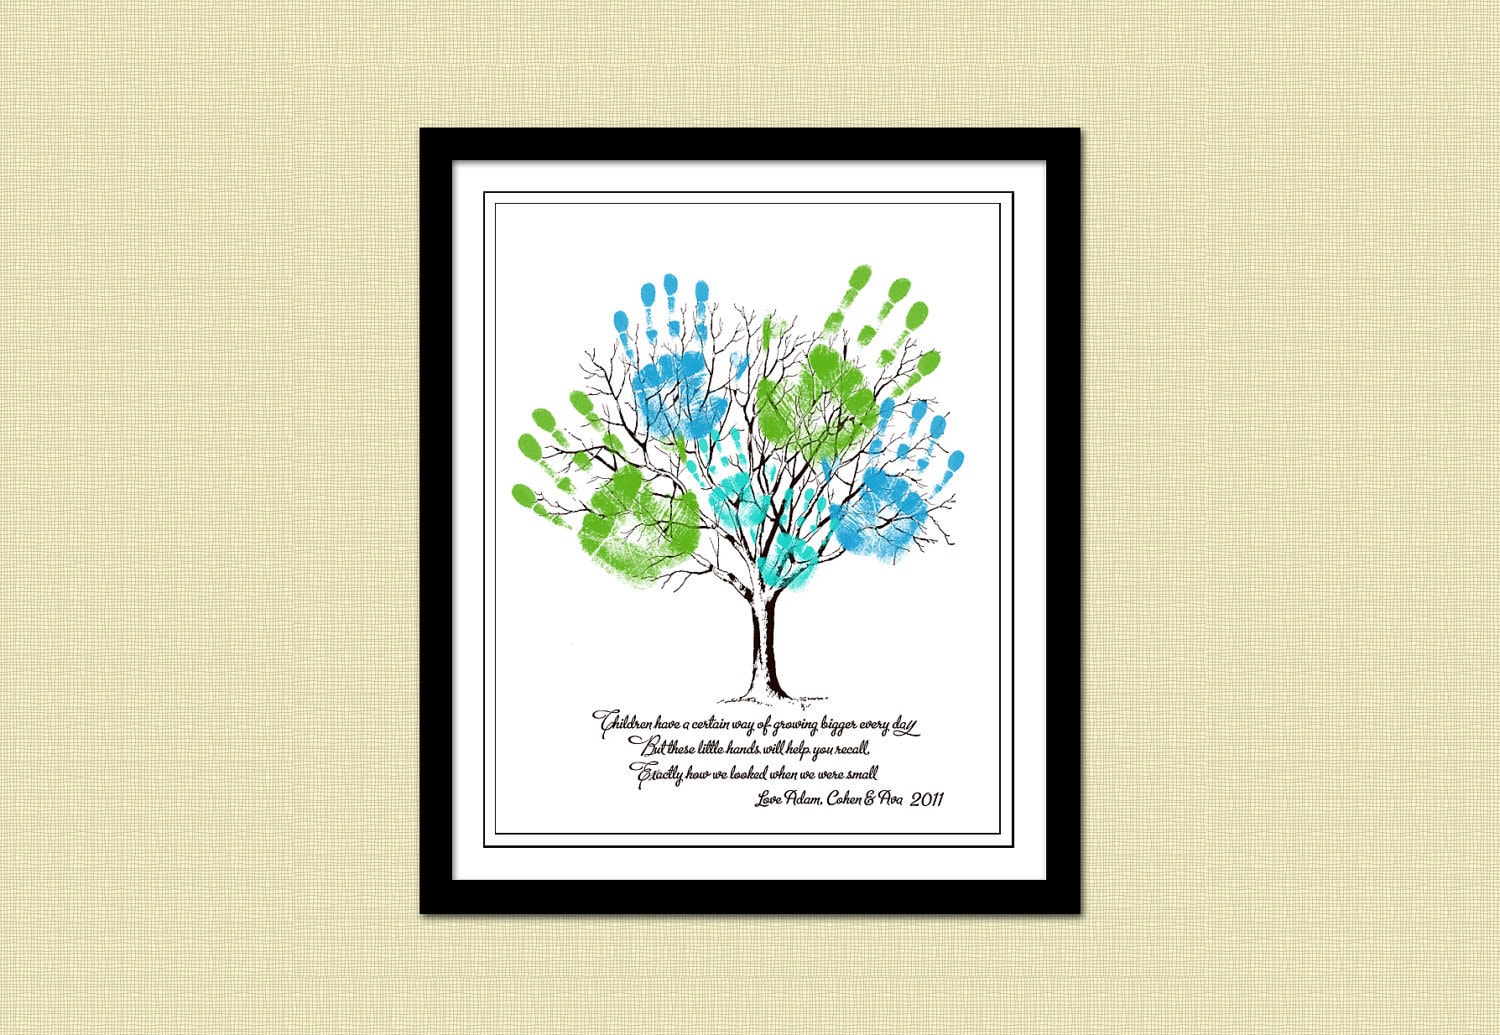
Hand print tree image courtesy of The CraftyChicks.com.
Although some may believe their dad would prefer a store bought item, it will be the gifts made from the heart that will be cherished – especially when they’ve moved out and gone to college.
Every project selected can be made for under $10 dollars, but may need a few days to a week to dry and complete. Many of the items needed can be purchased at your area dollar store.
You’ll Need:
A picture frame
A sheet of heavy weight paper (ex. card stock, constructions, etc)
Paint – in any color desired but be sure to use non-toxic for young children (I’ve seen all green hands and multicolored leaf hands used in projects)
A free tree template of a tree such as the Crafty Chick’s version, Kid’s Blogspot version, and Coloring Shape’s version, or if crafty, draw and paint your own.
A pencil/pen
Optional: matte board for framing picture inside picture frame
1) Before printing template, reformat it to the correct year or reword it in a MS Word or Open Office software program.
2) Pour a small pool (big enough for a hand print) of paint in a paper plate and call the kids in for the printing.
3) Once tree is stamped and dried, place in the optional matte frame and place in a picture frame.